Last updated on 12th April 2024
Managing a project can be daunting, especially when there are multiple tasks and deadlines to keep track of. This is where project timelines come in handy.
A project timeline is a visual tool that outlines the tasks and deadlines involved in a project, making it easier to track progress and manage resources effectively.
Creating a project timeline may seem like a complex task, but with the right tools and techniques, it can be helpful to your project.
According to our Project Management Statistics 2024, 64% of people who use a project management tool (for things like managing project timelines) say it increases the rate of project success.
In this article, we will guide you on how to easily create a project timeline, and provide examples to help you get started.
What is a project timeline?
A project timeline is a visual representation of the chronological order of tasks and events required to complete a project.
It outlines the start and end dates of each task and provides a clear picture of the project’s progress and completion date.
Project timelines can help teams stay organised, identify potential delays, and communicate project status to stakeholders.
They can be created using a variety of tools and formats, from simple spreadsheets to more in-depth project management software.
The purpose of a project timeline is to provide a clear and concise overview of the project’s progress, allowing stakeholders to identify potential issues, track milestones, and ensure that the project is completed on time and within budget.
Project timeline examples
1. Simple project timeline
Your project timeline can be as simple or as detailed as you want it to be. If you’re just getting started with project timelines, then it makes more sense to keep things simple.
A simple project timeline can be created using any spreadsheet software. All you need to do is break your project down into tasks, and create a list of those tasks with expected start and end dates. You can also add who is responsible for each task and then tick the tasks off as your project progresses.
2. Gantt chart
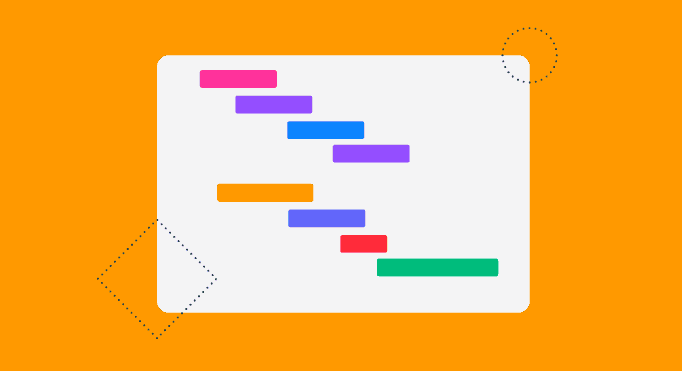
A Gantt chart is one of the most popular types of project timelines. They are visual tools that allow you to see a quick snapshot of your entire project. Each bar on a gantt chart represents a task that needs to be completed. The length of the bar demonstrates how long you expect the task to take. Bars can also be colour coded to show which team is responsible for each task.
3. Swimlane timeline

A swimlane timeline is used for complex projects that involve multiple teams or departments. The timeline is divided into swimlanes (hence the name!), with each lane representing a different team or department. This makes it easy to see who is responsible for each task and how it fits into the overall project timeline.
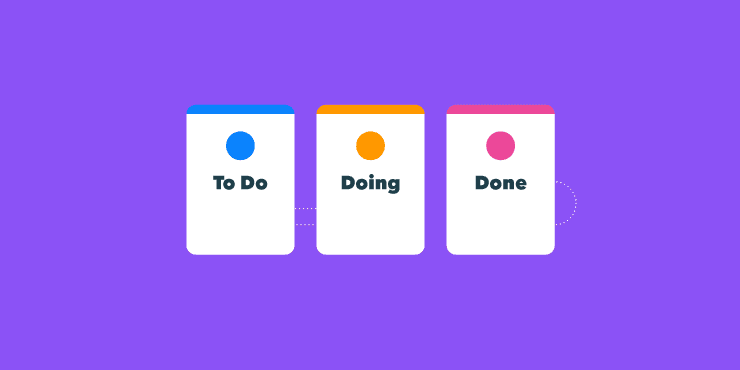
4. Kanban board
A kanban board is another visual project timeline, like gantt charts. But Kanban uses cards to represent tasks. Kanban boards are very easy to implement as they don’t require you to change any business processes – all you need to do is visualise your current workflow.
5. Milestone chart

A milestone chart is exactly what it sounds like! It’s a timeline that highlights important events or milestones in the project. This type of timeline is useful for projects with a long duration and helps to keep everyone focused on the key objectives.
How to create a project timeline
1. Define the scope of the project
The first step towards creating a project timeline is to define the scope of your project. Only by having a clear understanding of what your project entails can you plot a realistic timeline.
An easy way to begin is to start with a mission statement that outlines what you hope to achieve. For example: We will create a 60 second explainer video that increases brand awareness.
From there, you can figure out what resources are required and begin to work out things like cost, deliverables, duration – all the things that make up the scope of your project!
2. List the tasks
This is a natural next step after defining the scope of your project. Breaking your project down into smaller, more manageable tasks will make it easier to plot an accurate project timeline from start to finish.
But don’t think about the ‘plotting’ just yet. At this stage, all you need to do is list out every task that needs to be completed in order to achieve your project objective(s).
3. Determine the duration of each task
When you have your complete list of tasks it’s time to estimate how long you think each task will take to complete. It’s important to be realistic here and factor in any potential delays that could occur, and plan for how you would tackle those challenges.
4. Identify the dependencies
It’s highly likely that you’ll have some tasks that are dependent on others. For example, if you’re creating an explainer video then you can’t order the voiceover before you’ve written the script. So the voiceover task is dependent on the script task being completed.
By identifying your dependencies early on you’ll be able to schedule your tasks in the correct order to minimise delays and achieve maximum productivity throughout your project.
5. Determine the start and end dates
Now that you know practically everything you need to know about your tasks – what they involve, the duration, and dependencies – you can begin to determine start and end dates. This will give you a clear idea of how long your project is going to take.
6. Create the timeline
Finally, it’s time to build out your timeline! It should be easy at this point because you have all of the information you need.
Simply select the type of project timeline you think would be the best fit for your project and then plot your tasks along the timeline.
7. Assign team members
When you’ve created your project timeline, the next step is to share it with your team and assign team members to different tasks. The timeline will make it easy for your team to see when they are required and what for. Similarly, it will give them a clear understanding of how long they have to complete their task before the next person and/or team needs to get involved with the project.
8. Review and revise
When your team’s had a chance to review the project timeline, you may need to make some revisions. It’s important to take your team’s input on board to ensure that your timeline is realistic and achievable, without making people feel overwhelmed and under pressure.
It may also be necessary to make revisions on the fly, for example if someone gets sick or another project takes precedent. A timeline that is clear and structured, yet flexible, is key.
Project management timeline software (how Project.co can help!)
Creating project timelines by yourself can be messy and time-consuming. By using a project management timeline software, you can quickly and easily create new project timelines that are easy to access, update and share with your team.
To give you a quick preview of how this works, here are 5 ways Project.co can help you when it comes to project timelines.
1. Kanban view
Project.co offers a kanban view that allows you to visually map out your timeline and easily adjust it as needed with simple drag and drop functionality.
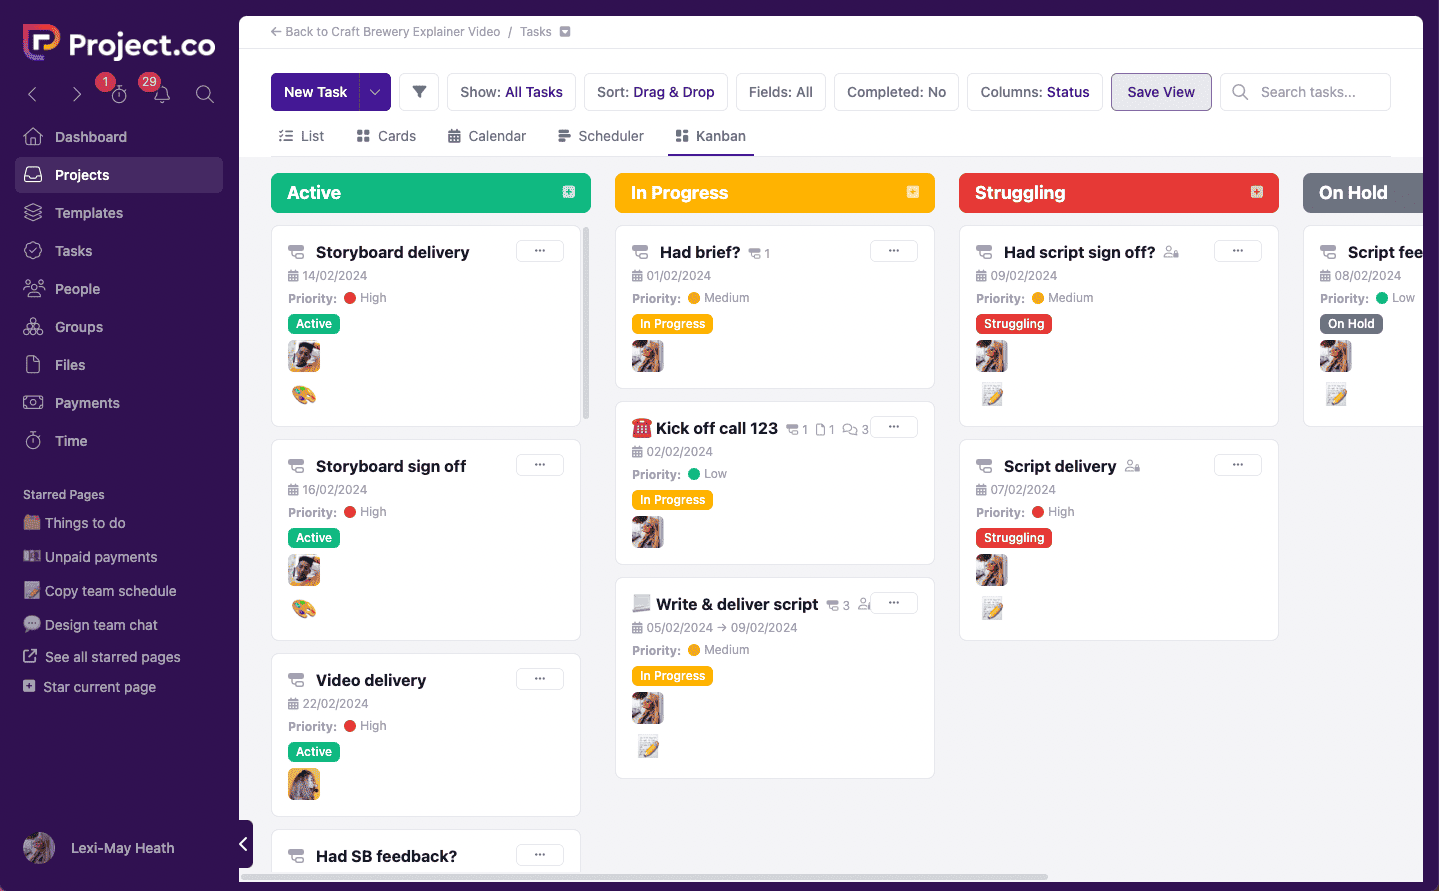
The kanban cards on Project.co are completely customisable to your project’s specific requirements, and make it super easy to see where your project is up to.
2. Task lists
If you’re not into visualisation and prefer to work from a to-do list, you can do that with Project.co too!
It’s easy to create a list of tasks that can be dated and assigned to different team members. You can even attach notes and files.

After creating your tasks, you can view them as a list that can be organised by date:

This will then act like a very simple, vertical project timeline that you can scroll through to check on the progress of your project.
3. Team collaboration
Project.co makes it easy to collaborate with your team members on your project timeline. As mentioned, you can assign tasks and deadlines. Plus, team members can update their progress in real-time.

As soon as someone updates something on the project, that change will be reflected across everyone’s account. This helps ensure that everyone is on the same page and that your project stays on track.
4. Notifications
When building out your timeline, Project.co will automatically send notifications to your team members to let them know a task has been assigned to them.

Team members are also informed when a task has been updated and when deadlines are approaching:

These real-time notifications help to keep everyone accountable and ensure that nothing falls through the cracks.
5. Customisable templates
Project.co offers customisable templates for project timelines, which can be used to quickly create a timeline based on your specific project needs.

This saves you time and ensures that you have a professional-looking timeline that is easy to understand and share with team members.
Check out all of our templates here.
Final thoughts
A project timeline is the easiest and most surefire way to keep your projects on track so that you can stay on time and on budget.
A project management tool like Project.co can help you to create and monitor your project timelines.
According to our Project Management Statistics 2024, 75% of businesses have started using a new tool to help them organise, communicate, and manage projects in the past 12 months. So, what are you waiting for?!
